How to Identify Which RAM Slot You Are Using
Introduction to RAM and Its Importance
Random Access Memory (RAM) is a critical component of any computer system, serving as the working memory that stores data temporarily while applications are in use. Unlike permanent storage devices such as hard drives or SSDs, RAM is designed for speed and efficiency, allowing for quick data retrieval and processing. The performance of a computer can be significantly influenced by the amount and type of RAM installed. When applications run, they utilize RAM to store data that is frequently accessed, which helps in speeding up processes and minimizing lag.
Understanding which RAM slot is being utilized on a motherboard is important for a variety of reasons—most notably for upgrading or troubleshooting. Each slot can support different types and speeds of RAM, and configurations can affect the overall performance of the system. For example, dual-channel configurations can boost performance by allowing simultaneous access to two RAM modules, effectively doubling the bandwidth. However, not all motherboards support all configurations, and mismatches can lead to system instability or suboptimal performance.
Furthermore, discerning the configuration status of RAM can assist users in identifying potential issues such as memory errors, which might arise from improper installation or faulty modules. Knowing the specific slot also helps in ensuring that the RAM upgrades are compatible with the existing setup, thereby maximizing efficiency. It’s essential to reference the motherboard’s manual or specifications when determining the optimal configuration for RAM installation. By being aware of where RAM is allocated and how it is utilized, users can make informed decisions about enhancing their systems, ensuring both reliability and improved operational capability.
Understanding RAM Slots and Their Configurations
Random Access Memory (RAM) is a crucial component of any computing system, as it affects the performance and speed of data processing. To maximize the efficiency of RAM, it is essential to understand the various types of RAM slots and how their configurations can influence overall system performance. Two of the most common types of RAM slots are DIMM (Dual Inline Memory Module) and SO-DIMM (Small Outline DIMM). DIMMs are primarily used in desktop computers, while SO-DIMMs are more commonly found in laptops and compact devices.
One of the key aspects of RAM slots is their configuration, which can be categorized into single-channel, dual-channel, and triple-channel setups. Single-channel configuration means that a single data path is used for memory communication, leading to lower bandwidth. In contrast, dual-channel configurations effectively double the data transfer rate by utilizing two channels simultaneously. This configuration basically enhances the flow of data between the CPU and RAM, resulting in improved performance, particularly in bandwidth-intensive applications. Furthermore, a triple-channel configuration, while less common, takes this concept a step further by enabling three data paths, providing even higher bandwidth and efficiency.
Understanding the specific RAM slot in use is paramount when considering upgrades or replacements. This awareness not only ensures compatibility but also enables optimal performance. For example, installing a new RAM module in a slot that supports dual-channel operation can increase data transfer rates compared to a single-channel configuration. Thus, recognizing whether you are using DIMM or SO-DIMM, as well as the configured channel setup, will aid in selecting the appropriate RAM for your system based on your performance needs.
Checking RAM Slot in Windows
Identifying which RAM slot is currently in use is an essential task for Windows users looking to upgrade or troubleshoot their systems. Fortunately, there are several methods available to determine the active RAM slots, using both built-in tools and third-party software.
One straightforward method to check your RAM slots involves using the built-in Task Manager. To access Task Manager, right-click on the taskbar and select “Task Manager” or press Ctrl + Shift + Esc. In the Task Manager window, navigate to the “Performance” tab. Here, you will find a section labeled “Memory,” which displays detailed information about your RAM, including the number of slots used and total memory capacity. This method provides a quick overview but does not specify which specific slots are occupied.
Another method involves utilizing the Windows System Information tool. To open this tool, press the Windows + R keys simultaneously to launch the Run dialog box. Type msinfo32 and hit Enter. In the System Information window, navigate to “Components” and then to “Memory.” Here, you will find a report detailing your installed RAM and related information; however, it might not list the exact slots.
For users seeking more detailed information about RAM slots, third-party tools such as CPU-Z or HWMonitor can be immensely helpful. These applications provide comprehensive data about the memory modules installed in your system, including specific slot usage. After downloading and installing the desired software, navigate to the “SPD” (Serial Presence Detect) tab, where you can observe which slots are populated, along with other specifications like timing and frequency.
In conclusion, utilizing these various methods allows Windows users to easily check which RAM slot is in use, facilitating informed decisions for upgrades or maintenance. By employing built-in tools and additional software, users can gain comprehensive insights into their system’s memory configuration.
Checking RAM Slot in macOS
To identify which RAM slot you are using on a macOS device, users can take advantage of several built-in system information tools. These tools not only provide insight into the RAM configuration but also help users understand the capacity and specifications of their memory modules.
First, click on the Apple menu located in the upper-left corner of your screen and select “About This Mac.” This action will present a window detailing the macOS version, device model, and available memory. Within this window, click on the “System Report” button. This will open the System Information application, which serves as an in-depth resource for identifying the configuration of your hardware.
In the System Information window, navigate to the “Memory” section on the left sidebar. Here, detailed information about the installed RAM will be presented. Users can see the memory slots, along with the size, type, speed, and status of the RAM modules. By examining this section, you can easily discern which slots are populated, the types of RAM installed, and whether the installed RAM is operating at the maximum speeds supported.
For those who are comfortable using the Terminal, there is a command that provides a concise output of the RAM slots in use. Open the Terminal application and type the following command: system_profiler SPMemoryDataType. This command will generate a report that reveals detailed information about each memory module, including which slot each module occupies. This method is a quick alternative for users who prefer command-line interfaces.
In conclusion, utilizing the built-in tools in macOS allows users to effectively identify and understand their RAM configuration, whether through a graphical interface or the Terminal. This understanding can assist in troubleshooting, upgrading, or optimizing the performance of your Mac device.
Physically Inspecting RAM Slots
Inspecting the RAM slots on your computer requires careful preparation and adherence to safety precautions. Before proceeding, ensure that your computer is turned off and unplugged from the power source. This step is crucial to prevent any potential electrical shock or damage during the inspection process. Additionally, it is advisable to ground yourself by touching a metallic surface or using an anti-static wrist strap to avoid static discharge that could harm your computer components.
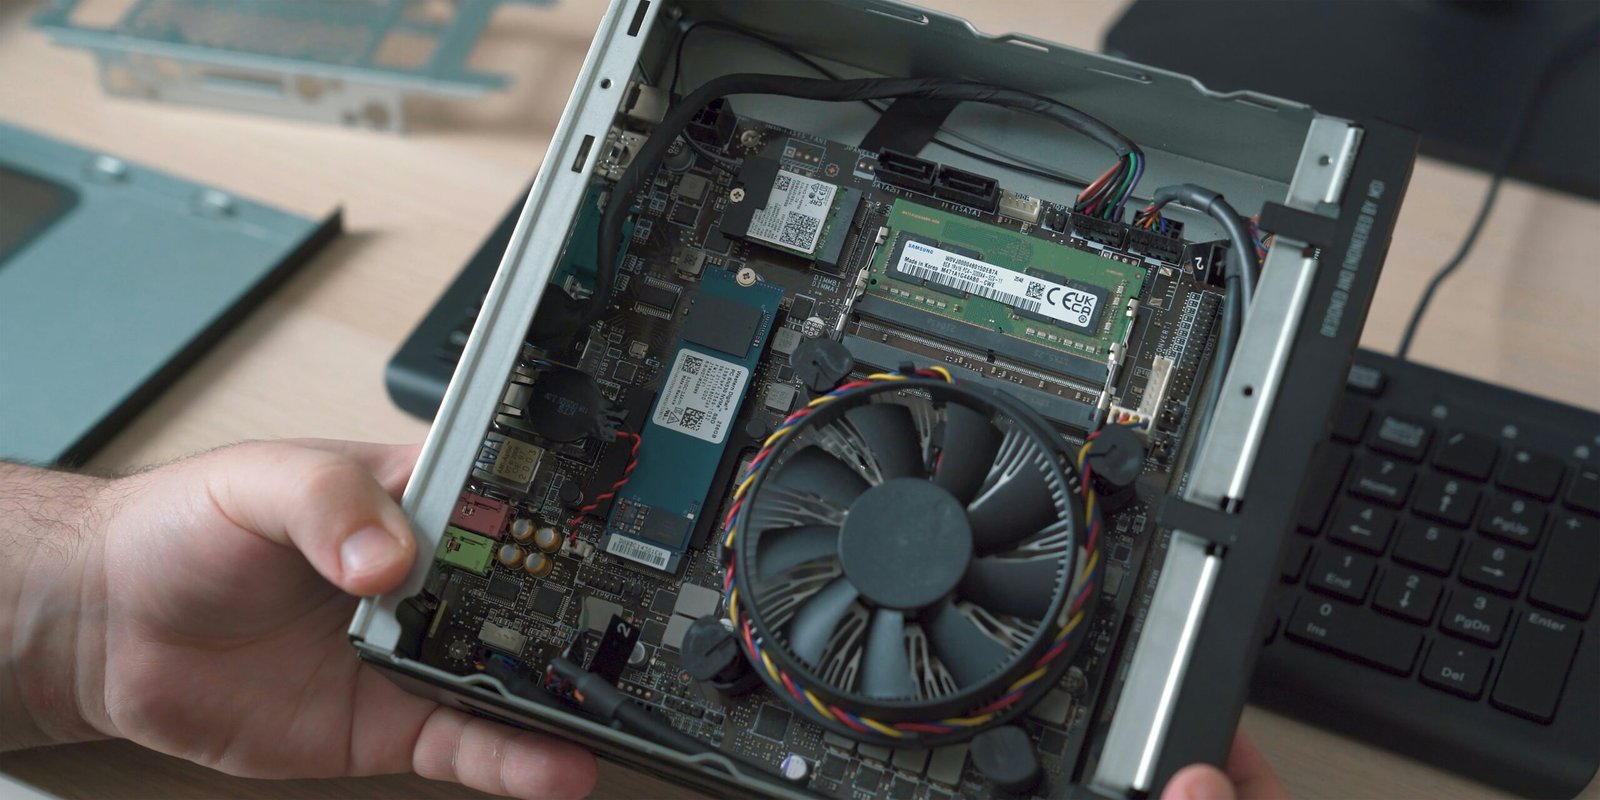
Once the power is off and you are grounded, you can proceed to open your computer case. Most cases have screws or thumbscrews at the back, which, once removed, will allow you to access the internal components. Take care when handling the case, as it may be sharp or heavy. Upon opening the case, familiarize yourself with your motherboard layout, as this is where your RAM slots are located. Typically, RAM slots are situated near the CPU, aligned parallel to each other, allowing for memory modules to be inserted vertically.
Look for the engagement mechanisms on the slots, usually colored tabs or levers on either end of the RAM slots, which secure the RAM modules in place. Most motherboards will also have labels indicating which slots are designated for different configurations, such as single or dual-channel setups. These labels often read “DIMM1,” “DIMM2,” etc. Understanding these assignments is beneficial for optimal performance, as it informs you on the best slots to utilize when adding or replacing RAM. Furthermore, if your current RAM is utilizing all available slots, identifying these can assist in future upgrades.
Using BIOS/UEFI to Check RAM Slot
Accessing the BIOS or UEFI interface is a reliable method to ascertain which RAM slot your system is utilizing. The BIOS (Basic Input/Output System) or UEFI (Unified Extensible Firmware Interface) acts as a bridge between the operating system and the hardware, providing detailed information about the system configuration, including memory slots. To begin, restart your computer, and during the boot process, you will need to press a specific key to enter the BIOS setup. Common keys include “Del,” “F2,” “F10,” or “Esc,” but the exact key may vary depending on your motherboard manufacturer. If you are uncertain, consult your system’s manual for precise instructions regarding key entry.
Once you successfully enter the BIOS or UEFI interface, your next step is to navigate to the appropriate section that displays memory information. Typically, this information can be found under a tab that might be labeled “System Information,” “Memory,” or something similar. The layout can significantly differ depending on whether your firmware is BIOS or UEFI. In most cases, UEFI offers a more visually intuitive layout, often with mouse support, while traditional BIOS might rely solely on keyboard navigation.
Within the memory section, look for details that display the installed RAM modules and their specific slots. Here, you should see the amount of RAM associated with each slot and other relevant specifications such as speed and timings. This information will allow you to determine which RAM slot is currently in use. It is crucial to take note of whether the slots are populated because knowing how your RAM is configured can help when considering future upgrades or troubleshooting system performance issues.
Understanding RAM Slot Compatibility
When upgrading or replacing RAM in a computer system, understanding RAM slot compatibility with the motherboard is a crucial step. Each motherboard is designed to support specific types of RAM, such as DDR4 or DDR5, as well as varying speeds. Selecting RAM that is incompatible with the motherboard can lead to several issues, including failure to boot the system, diminished performance, or intermittent system crashes. Therefore, prior to any upgrade, verifying the compatibility of your RAM with the motherboard specifications is essential.
Motherboards typically feature a variety of RAM slots, each corresponding to the supported memory type. Most commonly, you will find DIMM slots for desktop systems, while laptops may employ SO-DIMM slots. It is also important to consider the maximum memory capacity that each slot can handle, as well as the total maximum supported capacity of the motherboard. For example, a motherboard may have four slots but could support up to 64GB of RAM, meaning that it is vital to check both individual slot limits and cumulative support.
An additional factor to consider is the configuration of the installed RAM modules. Ideally, matching the RAM in terms of speed, size, and manufacturer is recommended for optimal performance. Mismatched RAM, such as using different speeds or sizes, can lead to system instability and reduced efficiency due to the motherboard defaulting to the lowest common denominator. This effect can be noticeable, particularly in systems dedicated to gaming or high-performance tasks.
Knowing which RAM slots you are using can significantly impact your future upgrade plans. For instance, taking advantage of dual-channel architecture can improve memory bandwidth and overall system performance. By ensuring you utilize the appropriate slots, you can maximize the potential of your RAM, enabling a more efficient and speedy computing experience.
Common Issues Related to RAM Slots
Random Access Memory (RAM) is a crucial component of any computer system, ensuring smooth performance and multitasking capabilities. However, users may encounter various issues related to RAM slots that can lead to performance degradation or system instability. One of the most prevalent problems is faulty RAM. Defective RAM modules can cause a range of symptoms including system crashes, blue screens, and failure to boot. Users should routinely check their RAM for any signs of malfunction, such as physical damage or seating issues.
Improper installation is another significant issue that can affect RAM functionality. If the memory sticks are not securely inserted into their respective slots, this may result in the system not recognizing the installed RAM. It is essential to ensure that the RAM modules click into place and are aligned correctly with the slots. Additionally, users should verify that the motherboard supports the specific type of RAM being used, as mismatched specifications can lead to compatibility problems.
Troubleshooting RAM-related issues often begins with running diagnostics. Many operating systems provide built-in tools or free third-party applications designed to test memory integrity. Users can also manually check the RAM sticks by swapping them between slots to identify any defective components. If a single stick is causing issues, replacing that particular module may resolve the problem, while ensuring all sticks are functioning correctly.
Moreover, dust accumulation and poor connectivity can lead to intermittent problems. Cleaning RAM slots and modules periodically is advisable to maintain optimum performance. By addressing these common issues, users can ensure that their RAM operates effectively, contributing to better system stability and performance.
Conclusion and Best Practices
Understanding which RAM slot is utilized in your computer system is critical for optimal performance and future upgrades. Throughout this discussion, we explored various methods for identifying the active RAM slots, such as using system information tools, manual inspection, and employing third-party software. Each method presents unique advantages, making it essential for users to select the approach that best suits their technical comfort level and system configuration.
Knowing the specifics of your RAM configuration has far-reaching implications, especially when considering an upgrade or when troubleshooting performance issues. For instance, ensuring that RAM is installed in the correct slots can aid in achieving dual-channel memory functionality, which significantly enhances overall system performance. Furthermore, being informed about the specifications of your RAM—such as speed and capacity—can prevent compatibility issues during enhancements.
In maintaining optimum RAM performance, several best practices can be followed. First, regularly monitoring system performance and RAM usage can help identify potential bottlenecks or issues as they arise. Additionally, ensuring that RAM slots are clean and free from dust or debris can prevent physical obstructions that could impair functionality. It is also advisable to consult the motherboard manual to adhere to manufacturer specifications on memory installation.
When planning to upgrade RAM, one should consider not only the current needs but also future demands. Therefore, selecting higher capacity RAM sticks or faster speeds can provide a buffer for upcoming applications and usage scenarios. By following these best practices and maintaining awareness of RAM specifications and configuration, users can ensure a smoother upgrading process and a more reliable computing experience.